Developing my Composite
Cutting Myself Out
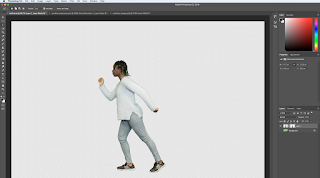 In order to achieve an accurate cut out of myself from the green screen, I first had to adjust my raw image in the camera room. I aimed to make my image look as accurate to reality as possible as I was aware that I could edit it further to suit my composite when in photoshop. This meant that I had to play around with things like the shadows of the image and the amount of exposure until it looked as similar to reality as possible.
Next, I opened my picture in photoshop and using the lasso tool (L) I traced roughly around myself and then created a layer copy (command J).
Then, using the quick selection tool (W) I was able to select the majority of the area around myself that I didn't want using shift. I did make some mistakes and select too much at some points which I quickly resolved by using the alt button in combination with my quick selection tool to then remove from my selection without having to restart. This allowed me to quickly and effectively select most of the space around myself that I didn't want to remain within my composite.
I made another layer copy and I hid my background layer by clicking the eye icon on my layer. I then inverted my selection (command I) and was left with a cut out of myself, but with some parts still not completely removed around the feet. To fix this I used the polygonal lasso tool and selected areas I didn't want and then filled them with black to ensure I wasn't deleting parts of my picture in case I wanted to get them back - this process is called masking and allows for a lossless conversion whilst developing composites.
This left me with my finished cut out of me in a running position.
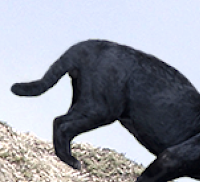
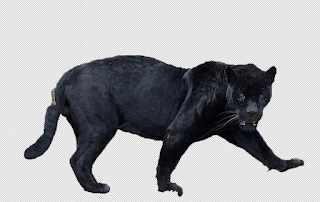
I searched on google for pictures of a black panther that I could use in my composite. When I eventually found one I liked, I used a layer copy and the quick select tool/want tool to cut around the outline of my panther. However, I was unable to get the panther's tail cut out properly as in the original image there was a branch in the way. In order to resolve this issue, I used the lasso tool to select an area of the panther's fur. I then copied and pasted this area of fur and covered the area of the panther's tail that was covered by the branch. Next, I used the brush tool at a low opacity in order to blend the fur and create a feathered effect so it looked more natural. I also went on to use the brush tool in high opacity in the skyline colour to smooth around the edge of the panther and make its back look more rounded as it was quite jagged when first cut out.
I re-scaled my panther to make it more proportionate to the image of myself as it was previously much larger. This ensured that the visual situation looks more realistic/ believable.

Black Panther


I searched on google for pictures of a black panther that I could use in my composite. When I eventually found one I liked, I used a layer copy and the quick select tool/want tool to cut around the outline of my panther. However, I was unable to get the panther's tail cut out properly as in the original image there was a branch in the way. In order to resolve this issue, I used the lasso tool to select an area of the panther's fur. I then copied and pasted this area of fur and covered the area of the panther's tail that was covered by the branch. Next, I used the brush tool at a low opacity in order to blend the fur and create a feathered effect so it looked more natural. I also went on to use the brush tool in high opacity in the skyline colour to smooth around the edge of the panther and make its back look more rounded as it was quite jagged when first cut out.

I re-scaled my panther to make it more proportionate to the image of myself as it was previously much larger. This ensured that the visual situation looks more realistic/ believable.
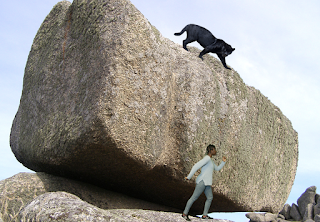
Rainforest Environment
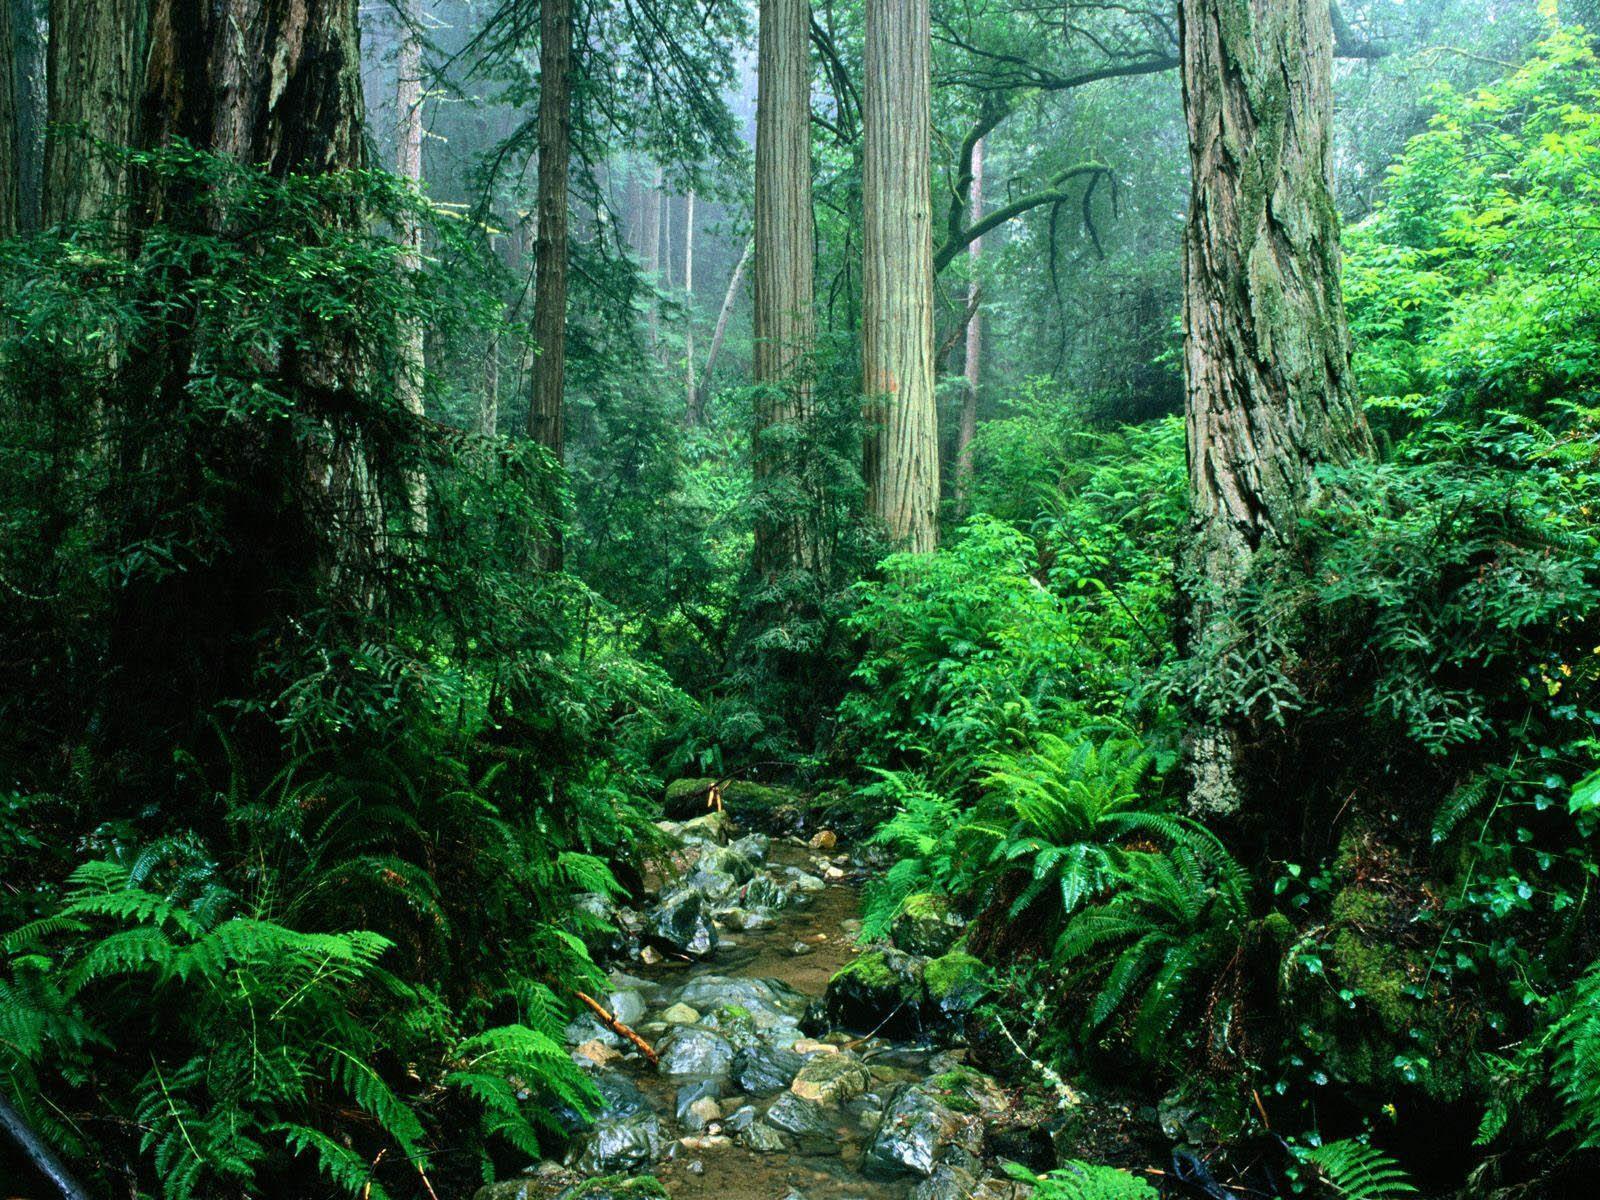
I decided to enhance the image by adding a familiar background associated with a black panther; the rainforest. I used it as a background behind the rock so I cut out the rocks original background using the colour range tool as it allowed me to select the majority of the blue coloured sky around the rock all together making the overall process much faster.
. However, when I placed the cut-out rock layer on top of the rainforest background a blue/white edge formed around the rock from where it had been cut. To resolve this I used a healing brush tool to trace around the edge of the rock and remove the blue/white edge which made the rock look more blended into the rainforest environment.
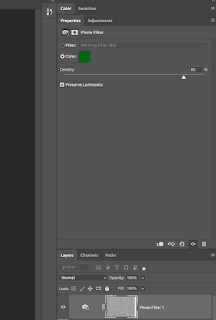 I next used a photo-filter to add a green colour to the overall image to add to the illusion of being within a rainforest surrounded by greenery.

 I used the filter feature to add noise to my composite. I did this because I wanted to further blend my images together which made the composite look more believable.

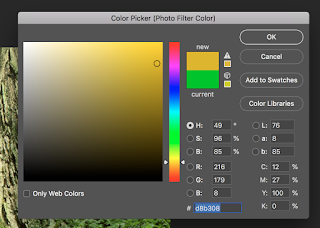 I began by considering the climate of the rainforest and decided to add a warming filter and orange coloured photo filter to create the effect of it being a bright and warm area.


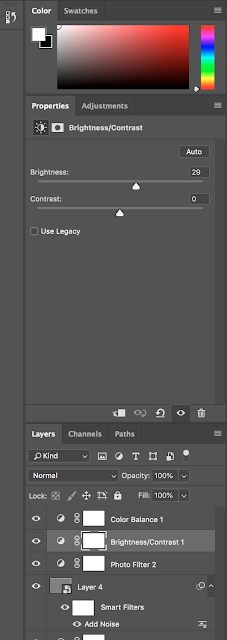 I used adjustment layers to increase the brightness of my composite as it played into the open, bright and exposed nature of the rainforest, therefore making my composite appear more convincing.
 However, when I placed the cut-out rock layer on top of the rainforest background a blue/white edge formed around the rock from where it had been cut. To resolve this I used a healing brush tool to trace around the edge of the rock and remove the blue/white edge which made the rock look more blended into the rainforest environment.
 I next used a photo-filter to add a green colour to the overall image to add to the illusion of being within a rainforest surrounded by greenery.
I utilised Layers and layer masks throughout the production of my composite. This meant that I could hide and reveal certain aspects of images to make my composite more convincing. It also allowed me to embrace lossless conversion which meant when I wanted to incorporate new ideas into my composite, I didn't have to worry about the loss of parts of images.
 I used the filter feature to add noise to my composite. I did this because I wanted to further blend my images together which made the composite look more believable.
Resolving Adjustment Layers

I added a lot of adjustment layers to my composite (once my images had come together) in an attempt to create the illusion that I was really in a heavily vegetated rainforest. To do this I incorporated a lot of dark green in to photo filters especially. This, however, gave the composite an unnatural and overpowering green-ness and I realised that I may have to take another approach to resolve this.
 I began by considering the climate of the rainforest and decided to add a warming filter and orange coloured photo filter to create the effect of it being a bright and warm area.

I significantly decreased the density to reduce how overpowering the colour appeared.
 I used adjustment layers to increase the brightness of my composite as it played into the open, bright and exposed nature of the rainforest, therefore making my composite appear more convincing.
I created a smart filter and then used a grey background and added some uniform noise so that I could blend the different aspects of my composite together to bind them and make the situation look more believable. Moreover, by converting the layer into a smart filter it allowed me to change what I've done on that layer at any point I want.
Keyboard Shortcuts
Keyboard shortcuts are ways that you can perform certain actions in software or programmes like Photoshop CC without having to scroll or use your mouse. I have learnt multiple keyboard shortcuts whilst developing my composite including:
- W for the Magic Wand Tool
- L for the Lasso Tool
- V for the Move Tool
- Command I to Invert your Selection
- Command J to create a Layer Copy
- Command 0 to see the entire image
- Command + to Zoom In
- Command - to Zoom Out
- B for the Brush Tool
- Shift + F5 to Fill
- Esc to withdraw from your selection
- Shift to add more to your selection
- Alt to remove from your Selection
- F to preview your work/view it fullscreen


Comments
Post a Comment